
Yesterday I got a text from my best friend Vicki asking me to come round for a girly night of nail painting, she had been watching some online tutorials on water marbling and thought it would be fun to give it a go. Now I am not creative in the slightest and whenever I have tried to do any nail art in the past I have always messed it up, so I didn't hold out too much hope but thought it would be great to have a go.
You will need:
A glass/tub of water
An orange stick/pin for swirling the varnish
An orange stick for "collecting" the varnish from the water
A selection of nail polish
Masking tape
Some kitchen towel!
Vodka and cranberry and some chocolate caramel bunnies (optional)
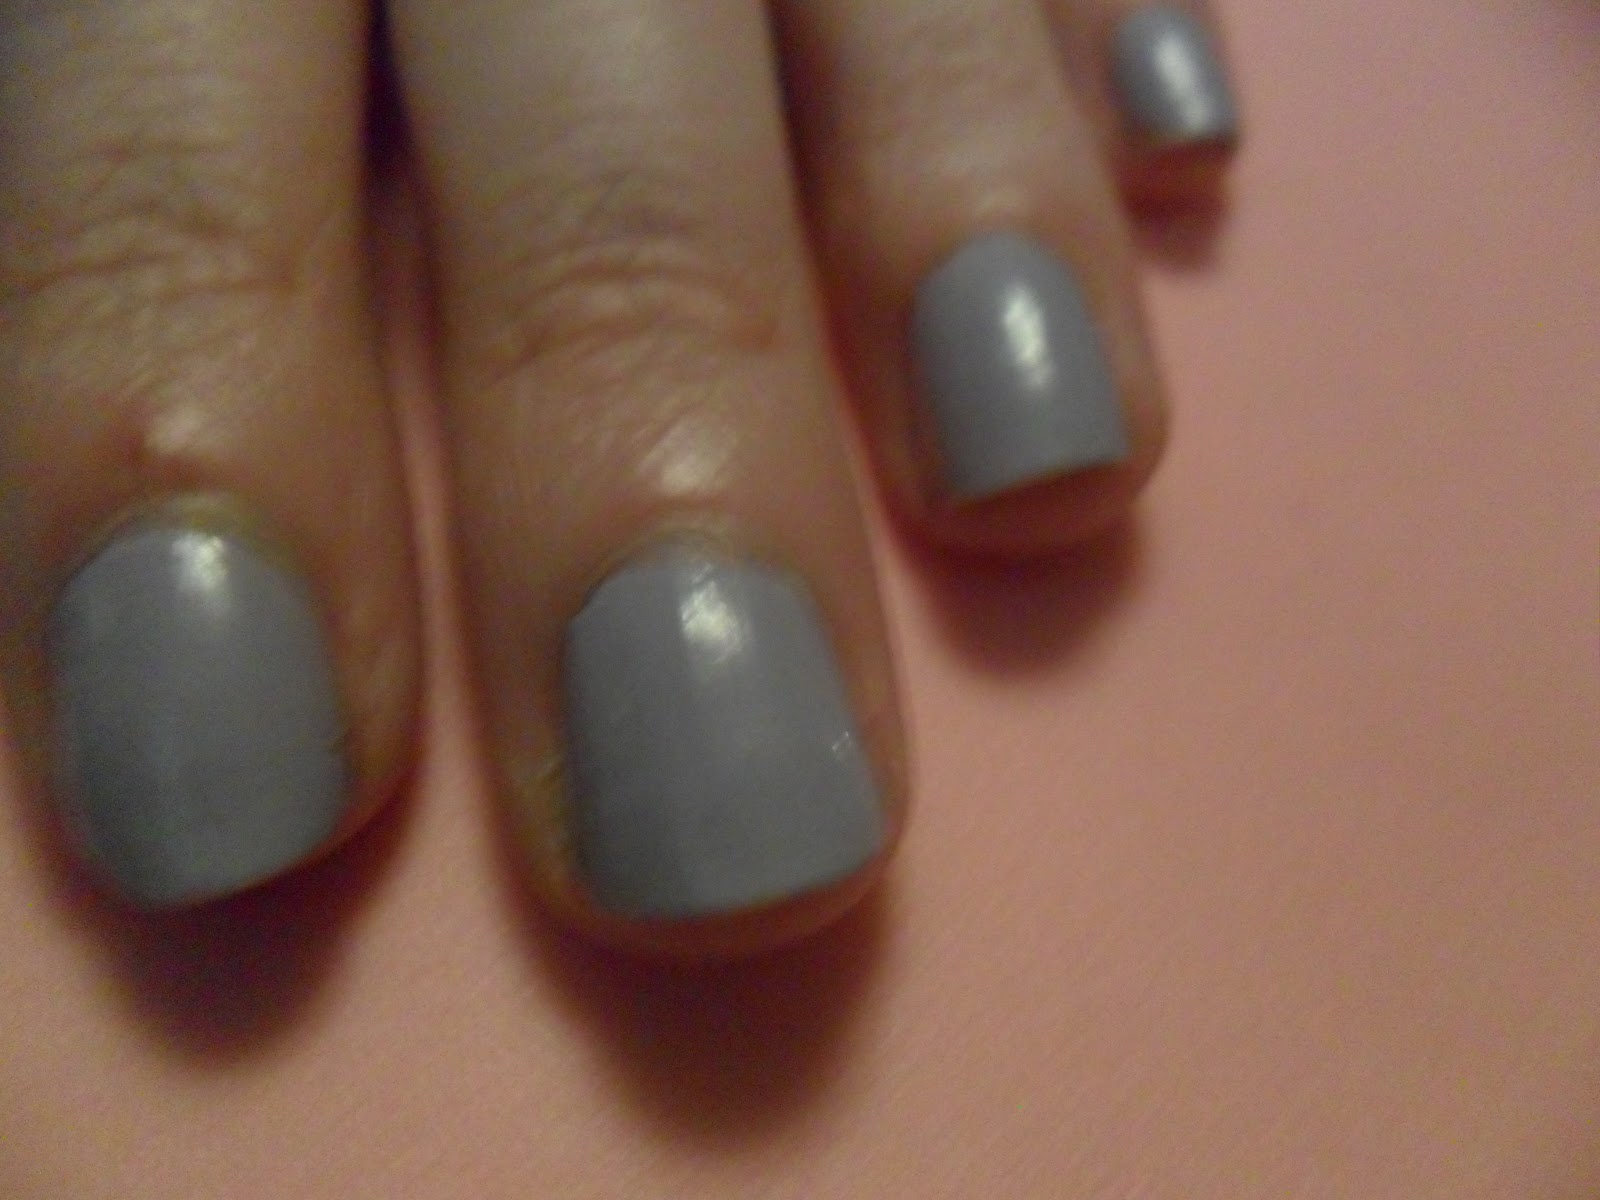
Firstly I painted my nails with Models Own Pro Polish in Lavender Blue 036 (sorry for the pic quality, it was night-time the lighting was poor and my camera is rubbish!).
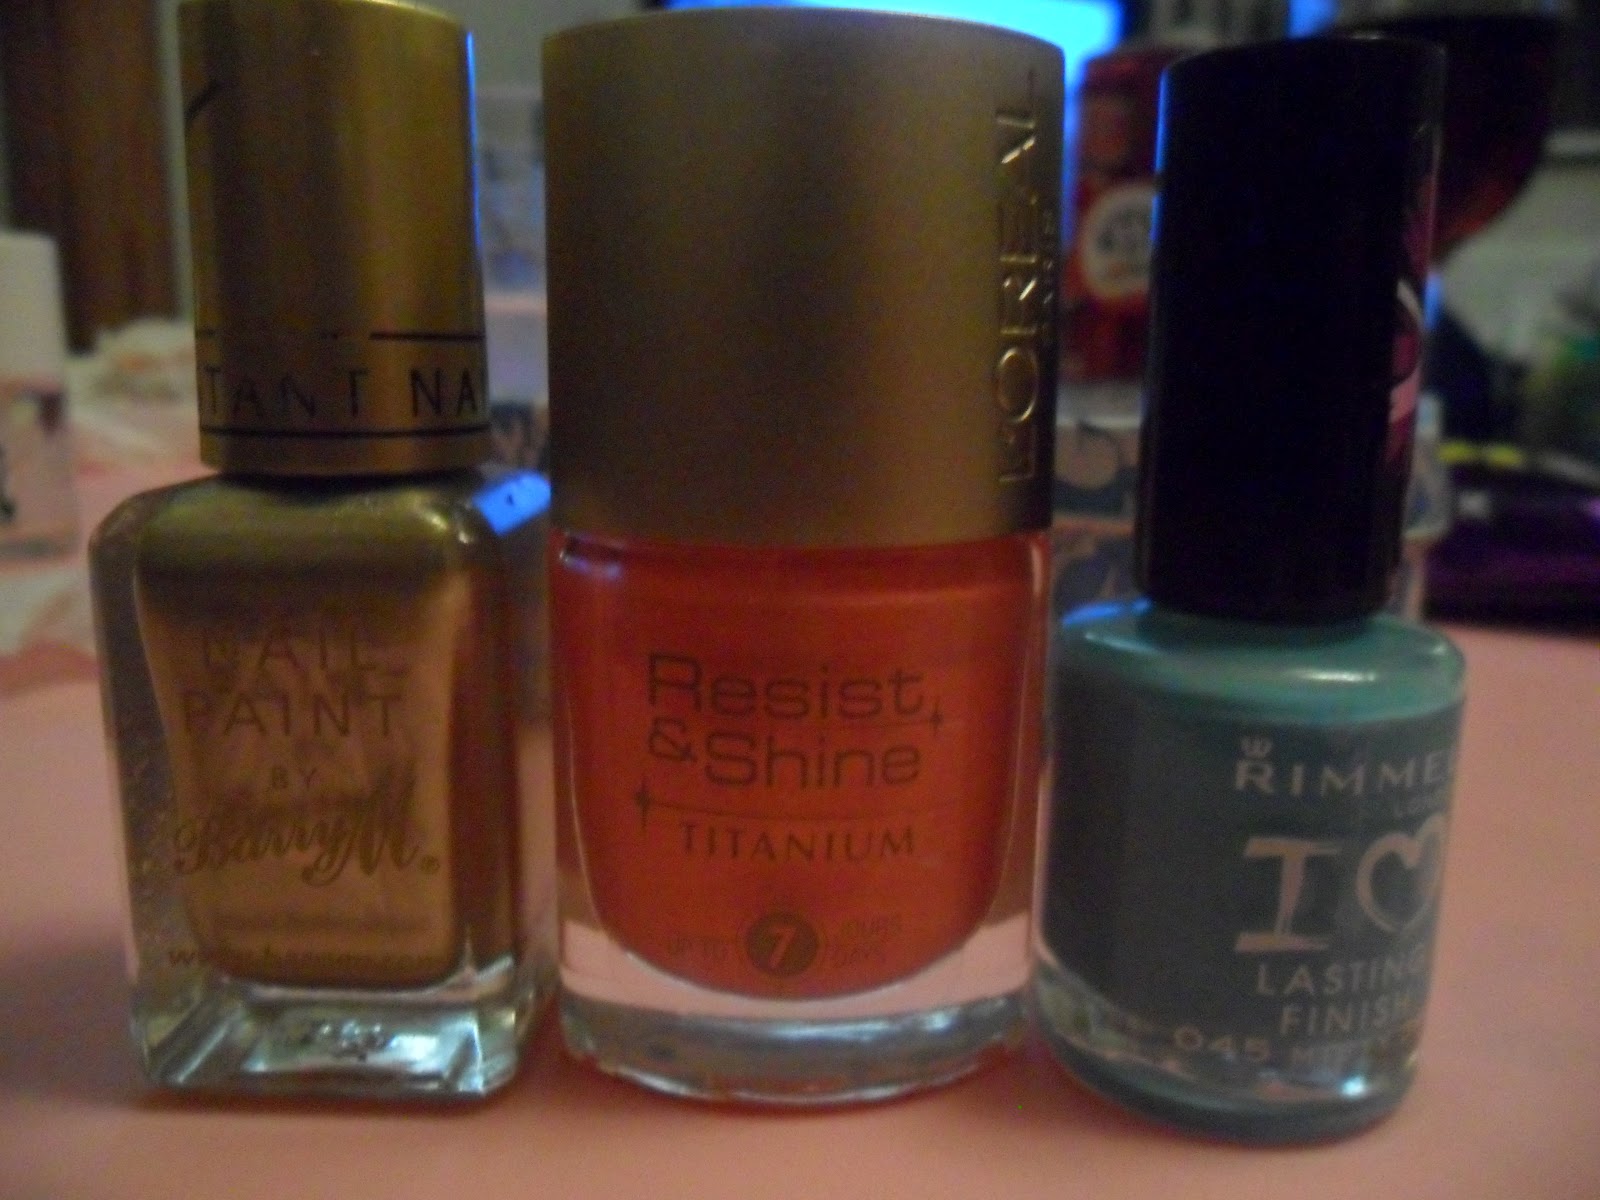
Then I choose three colours that I thought would look nice together, L-R Mellow Yellow 027, Yas-Mint 048 and Matt Purple 018

Then time to tape up the skin around your fingers - Vicki had done a practise run in the day using sellotape and said it was a bit too sticky so I took around a roll of masking tape. Thanks to Vics' hubby for taping up our fingers! I was a bit distracted by the vodka and cranberry....

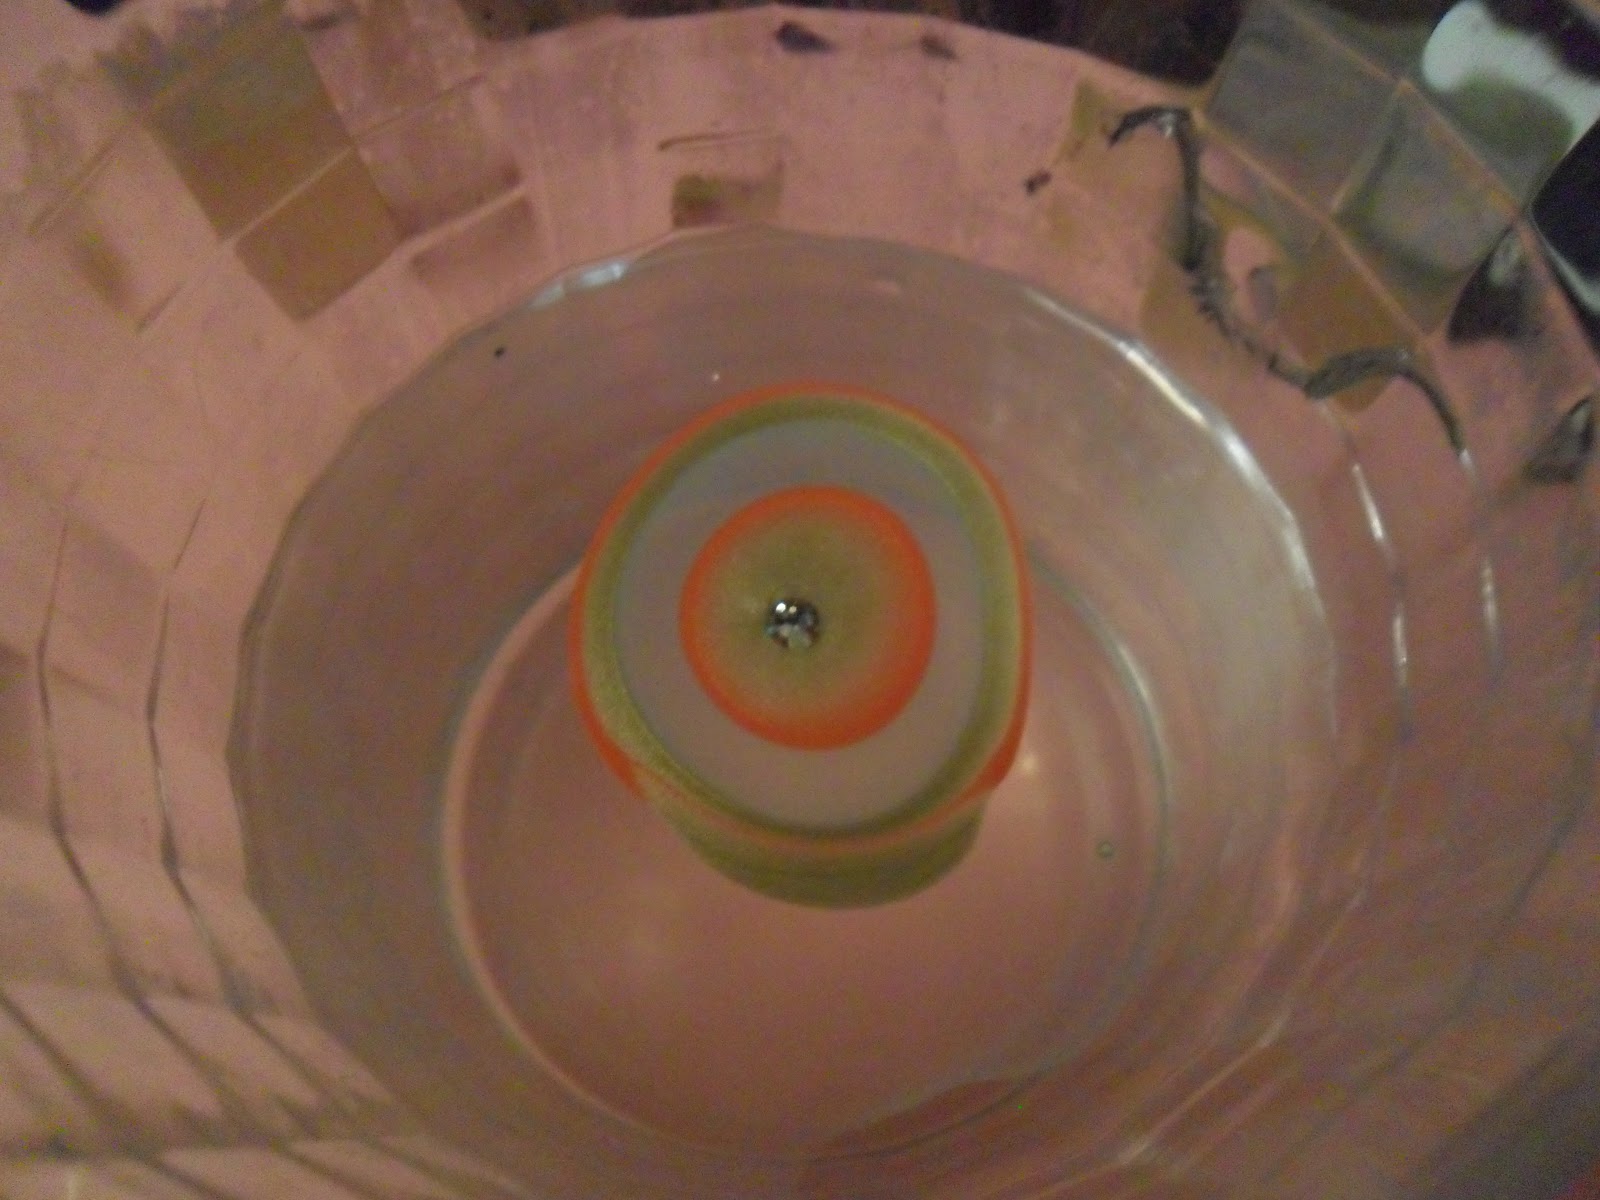
Then I dropped onto the surface of the water one drop of purple, then mint then yellow then repeated. Don't put the nail polish onto the water, let it drop from the brush. I kept the lids unscrewed as you have to work quite quickly before the polish starts to set.

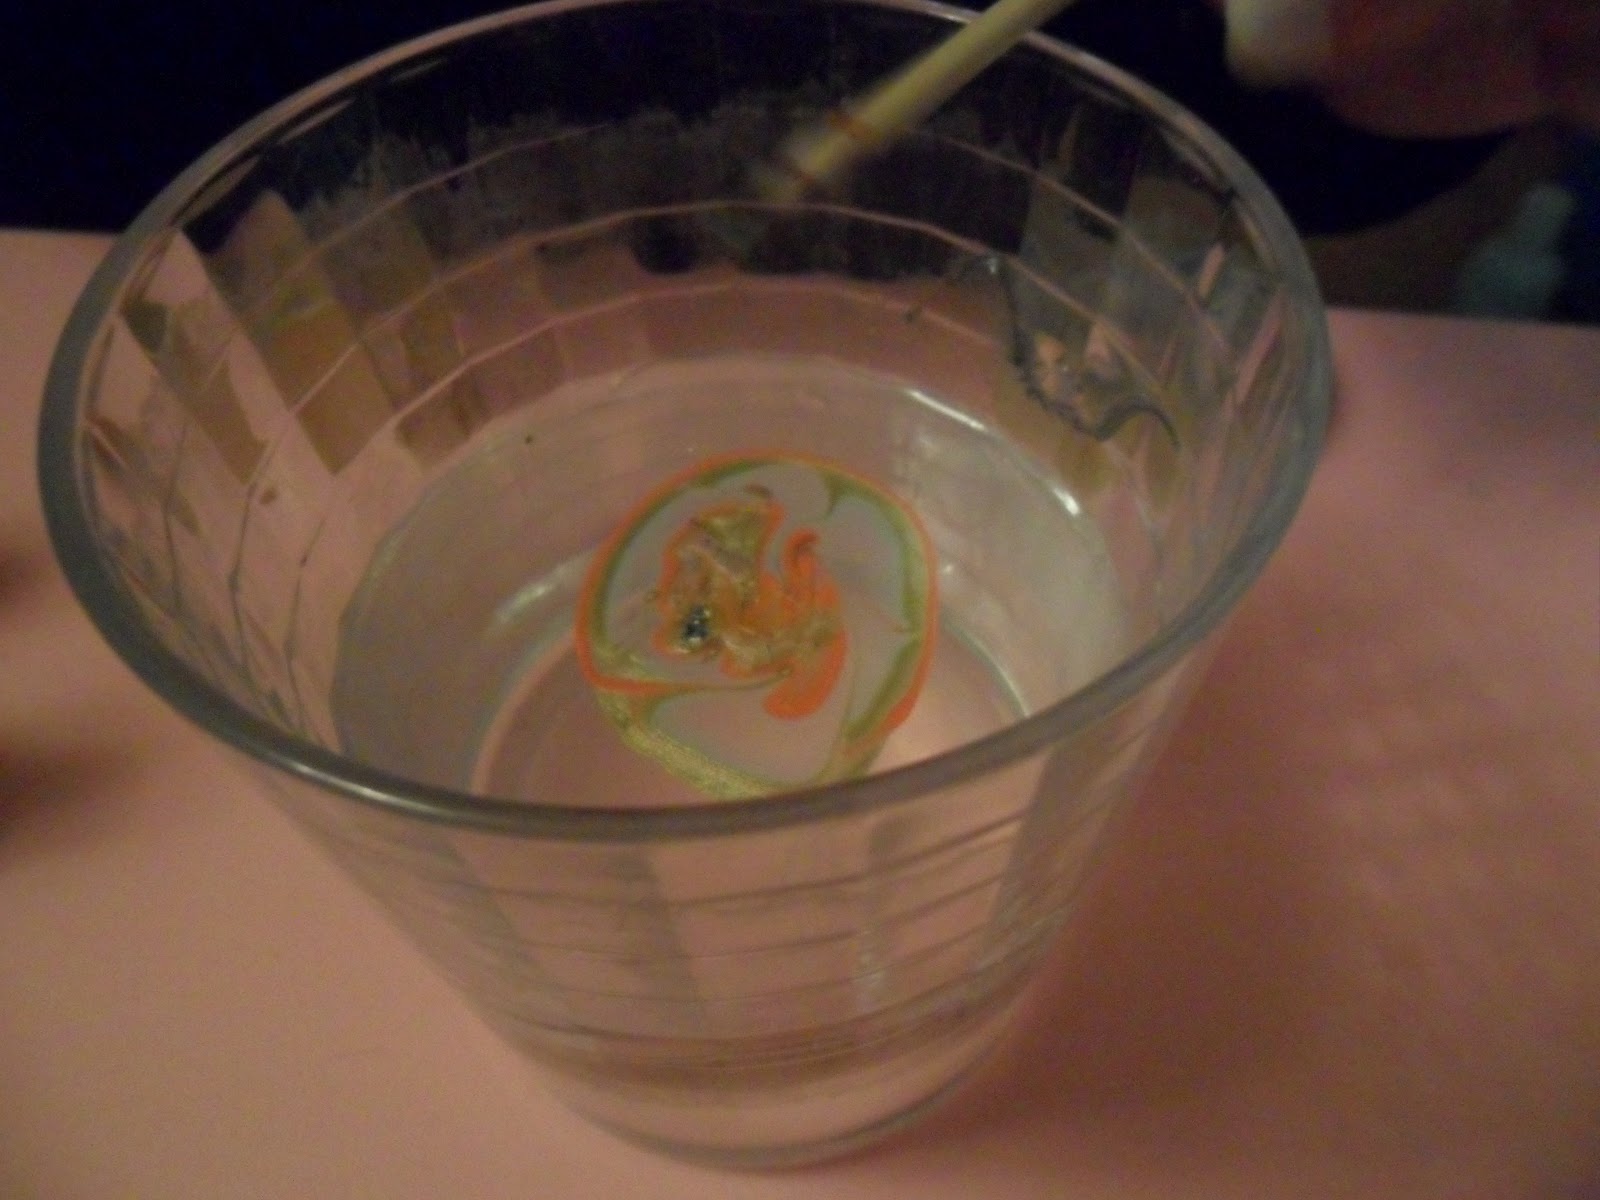
Then using an orange stick/pin make the varnish into whatever pattern you want. I just swirled mine around!

Then place your nail straight into the water through the polish, keep your finger in the water and use the orange stick to collect any varnish from the surface of the water. Use a swirling technique, like you are making a candy floss :)
My very first attempt! I did this finger so that my nail was placed vertically through the varnish and into the water.
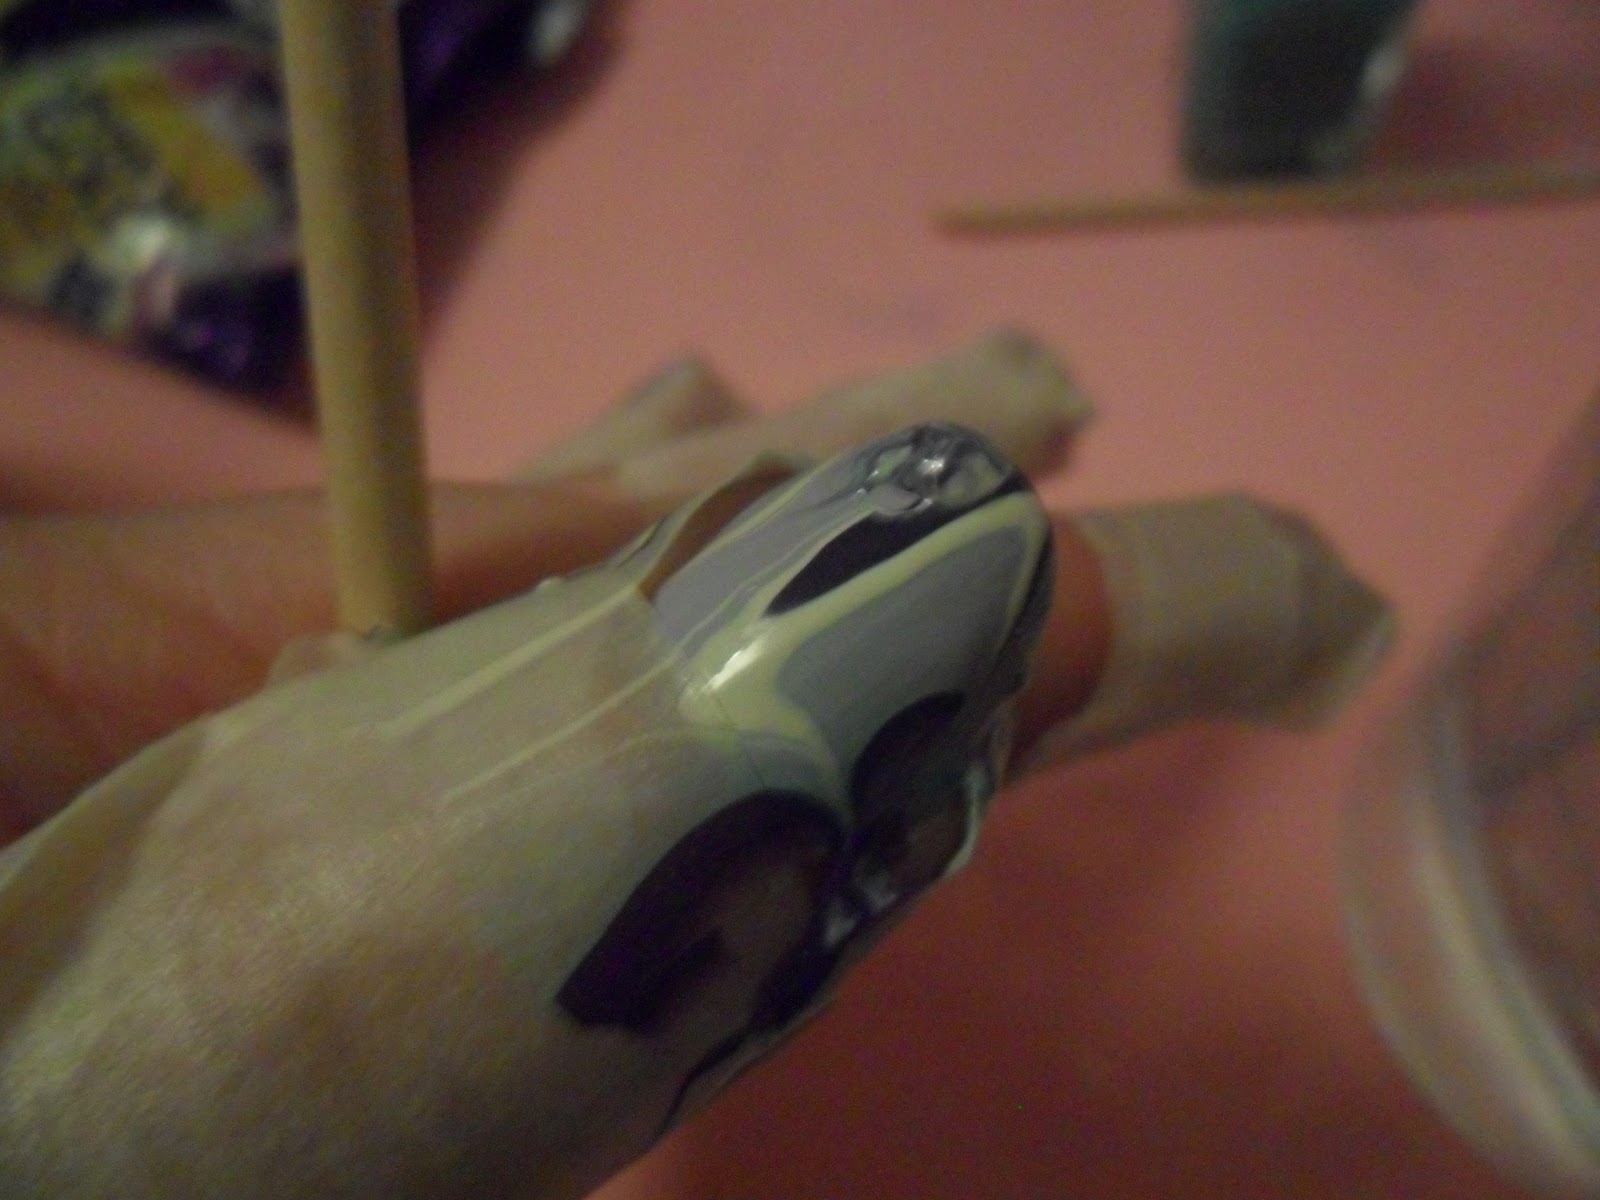
I did these slightly differently by putting my nail in horizontally and I think this worked much better.
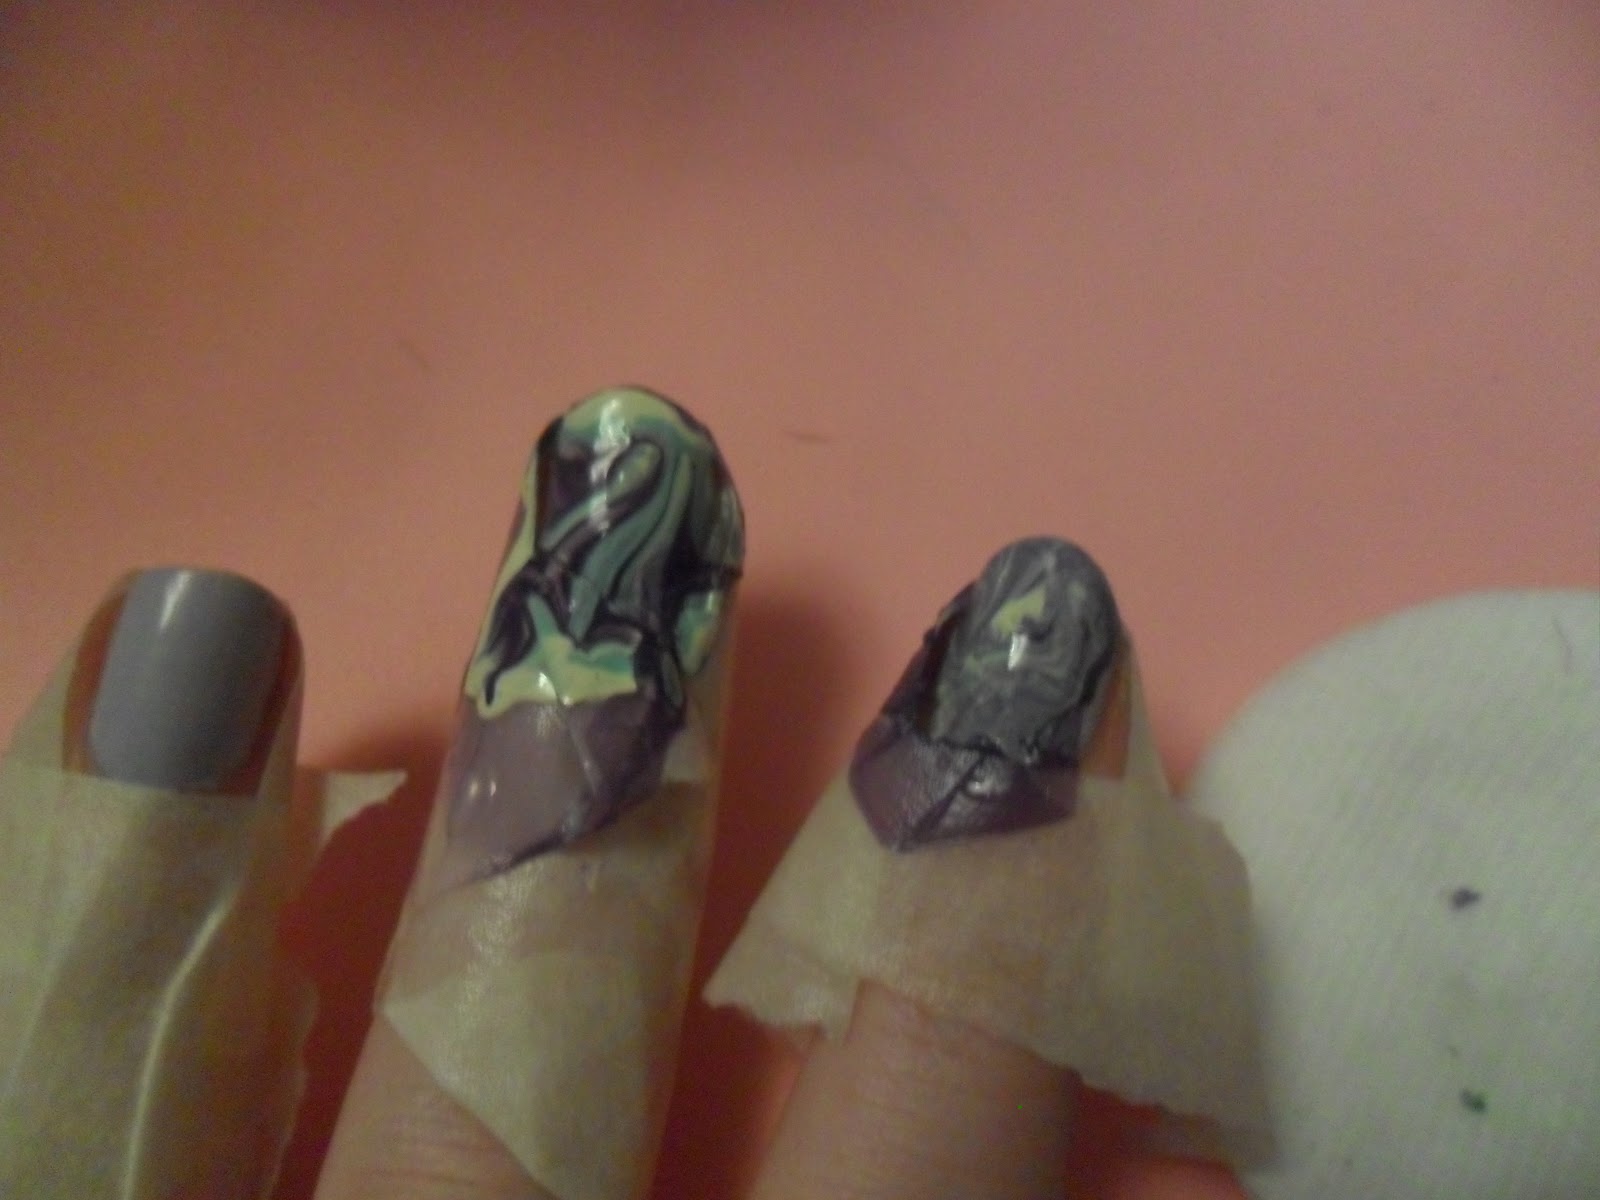
My first hand before I tidied it up - the polish looks quite thick but it isn't its just the picture.

These are dry without a topcoat - I'm quite pleased with my first attempt :)

These pics are Vicki's fabulous attempt - they look gorgeous!


She did try and put a bit of OPI Rainbow Connection into the mix but it didn't work, so she just used the three colours above.


I then changed the colours for my right hand and used the same purple as the left hand plus Nails Inc in Shoreditch and used two drops of each colour. I like this combination a lot more than my left hand, it looks really pretty.


Inspired anyone to give it a go?
ahhh there so cool!! i tired once and failed so bad lol
ReplyDeleteIf I can do it, you certainly can! Have another go :)
DeleteI want to try this! Still not sure how but I'm going to YouTube it :) x
ReplyDeleteFab isn't it! There are loads of vids on Youtube, I tried to explain it as best I can but I think its easier to watch what to do. Have fun :)
Delete